
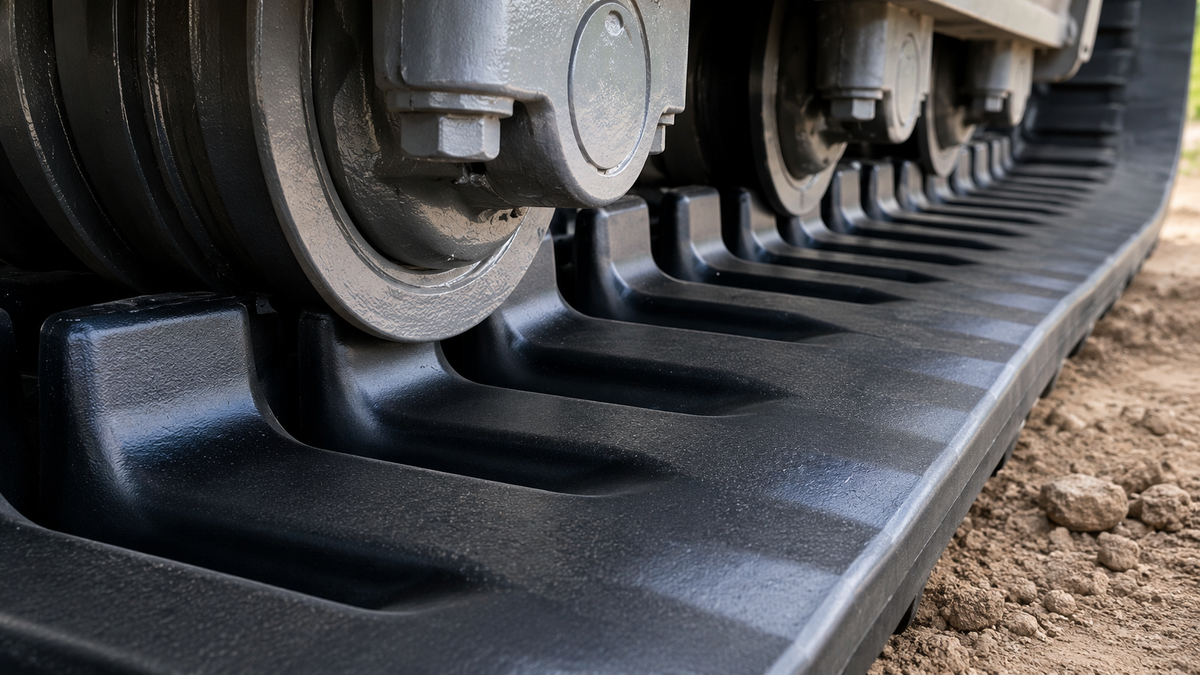
Rubber tracks are one of the hardest-working components on a compact track loader or mini excavator. They spend every hour on the jobsite carrying the machine's weight, absorbing impacts, and providing traction in dirt, mud, rock, and other demanding conditions.
Proper cleaning and regular inspections can help extend track life and prevent unnecessary downtime. When your tracks are worn or damaged beyond service, replacing them before failure can save you from a much bigger problem.
Here's a step-by-step guide to cleaning, inspecting, and replacing rubber tracks.
Why Cleaning Your Rubber Tracks Matters
Dirt, mud, rocks, concrete, snow, and other debris can become packed into the undercarriage. If that material stays there, it can increase wear on the rubber track and the components it runs against, including the rollers, idlers, and sprocket.
Regularly cleaning the undercarriage also makes it easier to identify problems before they become expensive repairs.
Pay particular attention to:
- Between the track lugs
- Around the drive sprocket
- Around the front idler
- Between the bottom rollers
- Inside the track
- Around rock guards and track guides
A pressure washer can be useful for removing packed dirt and debris, particularly after working in mud, snow, or other harsh conditions.
Tip: If you've been working around salt, chemicals, oil, or other substances that can deteriorate rubber, cleaning the tracks promptly is especially important.
How to Inspect Your Rubber Tracks
Before replacing a track, take a few minutes to inspect the entire undercarriage.
Look for:
Cracks and Cuts
Small surface cracks can develop as rubber tracks age. Deep cracks, major cuts, or damage exposing the internal steel cords are signs that the track needs serious attention.
Missing or Damaged Lugs
The drive lugs are critical because they engage with the sprocket. Missing, broken, or heavily damaged lugs can affect track engagement and increase the possibility of de-tracking.
Uneven Wear
Uneven tread or edge wear can indicate problems with track alignment, tension, rollers, idlers, sprockets, or other undercarriage components.
Exposed Steel
Rubber tracks contain internal steel reinforcement. If the rubber has worn or separated enough to expose the steel, replacement should be considered.
Track Tension
A track that's too loose can come off the undercarriage, while excessive tension can accelerate wear on the track and undercarriage components. Always use the tension specification provided by your machine manufacturer rather than relying on a generic measurement.
When Should You Replace Rubber Tracks?
There isn't one universal hour rating for rubber tracks. Track life depends heavily on the machine, application, operator, ground conditions, track quality, undercarriage condition, and maintenance practices.
Consider replacing your tracks when you notice:
- Severe cracking or dry rot
- Large cuts or tears
- Missing chunks of rubber
- Missing or damaged drive lugs
- Exposed steel cords
- Severe tread wear
- Persistent de-tracking
- Excessive looseness that cannot be properly corrected
- Significant uneven wear
Don't wait until a track completely fails on the jobsite if you can avoid it. A planned replacement is generally much easier to manage than an unexpected track failure.
Before Installing New Rubber Tracks
This is one of the most important steps.
Don't simply put new tracks on a machine without checking the undercarriage.
Inspect the:
- Drive sprocket
- Front idler
- Bottom rollers
- Top rollers, if equipped
- Track guides
- Rock guards
- Track frame
- Track adjuster
A worn sprocket or damaged roller can cause premature wear on a brand-new rubber track.
Also make sure you're purchasing the correct track size for your machine. Track pitch, length, width, and drive-lug configuration need to match the machine and undercarriage.
How to Replace Rubber Tracks
The exact procedure varies by machine, so always consult your machine's Operation and Maintenance Manual before beginning the job.
Rubber tracks can be extremely heavy, and releasing track tension can involve stored mechanical and hydraulic energy. Use the manufacturer's procedure, proper PPE, properly rated lifting/support equipment, and the correct tools.
Step 1: Park on Level Ground
Move the machine onto a firm, level surface.
Lower the attachment to the ground, shut the engine off, follow the machine's lockout/service procedure, and make sure the machine is securely supported according to the manufacturer's instructions.
Never rely on a hydraulic system alone to support a raised machine.
Step 2: Clean the Undercarriage
Before removing the old track, clean the undercarriage thoroughly.
Remove rocks, mud, packed dirt, and other debris from around the sprocket, idler, rollers, and track frame.
This gives you a clean working area and allows you to inspect the components before installing the new track.
Step 3: Release Track Tension
Locate the track tension adjustment system.
Many compact track loaders and mini excavators use a grease-filled adjuster. Follow the manufacturer's procedure for safely relieving tension.
Do not simply loosen components or remove fittings without knowing how your particular track adjuster works.
Once tension has been safely released, the track should have enough slack to remove it.
Step 4: Remove the Old Track
With the track properly de-tensioned, the track can be worked off the undercarriage.
Depending on the machine, this may involve positioning the track at the idler and using appropriate track bars or pry tools to disengage it.
Never put yourself in a position where a released or shifting track could fall onto you.
Caterpillar's published CTL procedure, for example, uses track bar tools and a pry bar to disengage the track from the idler after tension has been released.
Step 5: Inspect Everything Before Installing the New Track
With the old track removed, this is the perfect opportunity to inspect your undercarriage.
Check that:
Sprocket teeth aren't excessively worn or damaged.
Idlers rotate properly and aren't showing signs of seal failure or excessive wear.
Rollers aren't seized, leaking, damaged, or excessively worn.
Track guides aren't bent or severely worn.
If an underlying problem isn't corrected, it can shorten the life of your new track.
Step 6: Install the New Rubber Track
Position the new track underneath the machine according to the manufacturer's installation procedure.
Generally, the track is positioned around the drive sprocket and idler, with the internal drive lugs properly engaging the sprocket.
Work the track onto the undercarriage using the appropriate tools.
Never use excessive force or unsafe methods to install a track.
Caterpillar's installation procedure places the track lugs into the rear idler, positions the front portion against the front idler, and then uses appropriate tools to re-engage the track before setting tension.
Step 7: Set the Correct Track Tension
Once the track is installed, restore tension according to the machine manufacturer's specifications.
This is extremely important.
Too loose: The track can de-track or move improperly.
Too tight: Excessive tension can increase wear on the rubber track, rollers, idlers, and other components.
Don't guess at the correct tension. Use the specification for your particular machine. Caterpillar specifically recommends referring to the machine's Operation and Maintenance Manual for the proper track values.
Step 8: Check the Installation
Before returning the machine to work:
- Make sure the track is properly seated.
- Verify the drive lugs are correctly engaged.
- Confirm the track is centered on the undercarriage.
- Verify the track tension.
- Inspect the rollers and idler.
- Start the machine according to the manufacturer's procedure.
- Slowly operate the track and watch for abnormal movement.
- Recheck the track after operation.
If anything looks or sounds abnormal, stop and investigate before continuing to work.
How to Get More Life Out of Your Rubber Tracks
Once your new tracks are installed, a few simple habits can make a significant difference.
Clean the tracks regularly
Don't allow mud, rocks, snow, and other material to remain packed into the undercarriage.
Avoid unnecessary spinning
Excessive counter-rotation and aggressive pivot turns can accelerate track and undercarriage wear.
Be careful around sharp material
Rebar, scrap metal, sharp rock, roots, and other objects can cut rubber and damage the internal reinforcement.
Watch your track tension
Check tension regularly and adjust it according to the manufacturer's specifications.
Keep the undercarriage maintained
A new rubber track can't compensate for worn sprockets, rollers, idlers, or other damaged components.
Ready for New Rubber Tracks?
When your tracks are worn out, don't wait for a jobsite failure.
IronTrack Supply offers replacement rubber tracks for a wide range of compact track loaders, mini excavators, and other tracked equipment.
Our goal is simple:
QUALITY UNDERCARRIAGE. BUILT TO WORK.
Whether you need rubber tracks, track groups, rollers, idlers, sprockets, track shoes, or other undercarriage components, IronTrack Supply is here to help you find the right parts for your machine.
Not sure which track you need? Send us your machine make and model, and we'll help you identify the correct replacement.
Keep your equipment moving. Keep your job moving.
Shop Rubber Tracks at IronTrack Supply.